3.11 Flink Connector —— Redis 的用法
在生产环境中,通常会将一些计算后的数据存储在 Redis 中,以供第三方的应用去 Redis 查找对应的数据,至于 Redis 的特性笔者不会在本节做过多的讲解。
3.11.1 安装 Redis
首先介绍下 Redis 的的安装和启动运行。
下载安装
先从 官网 下载 Redis,然后解压。
1
2
3
4
| wget http://download.redis.io/releases/redis-5.0.4.tar.gz
tar xzf redis-5.0.4.tar.gz
cd redis-5.0.4
make
|
通过 HomeBrew 安装
如果需要后台运行 Redis 服务,使用命令:
1
| brew services start redis
|
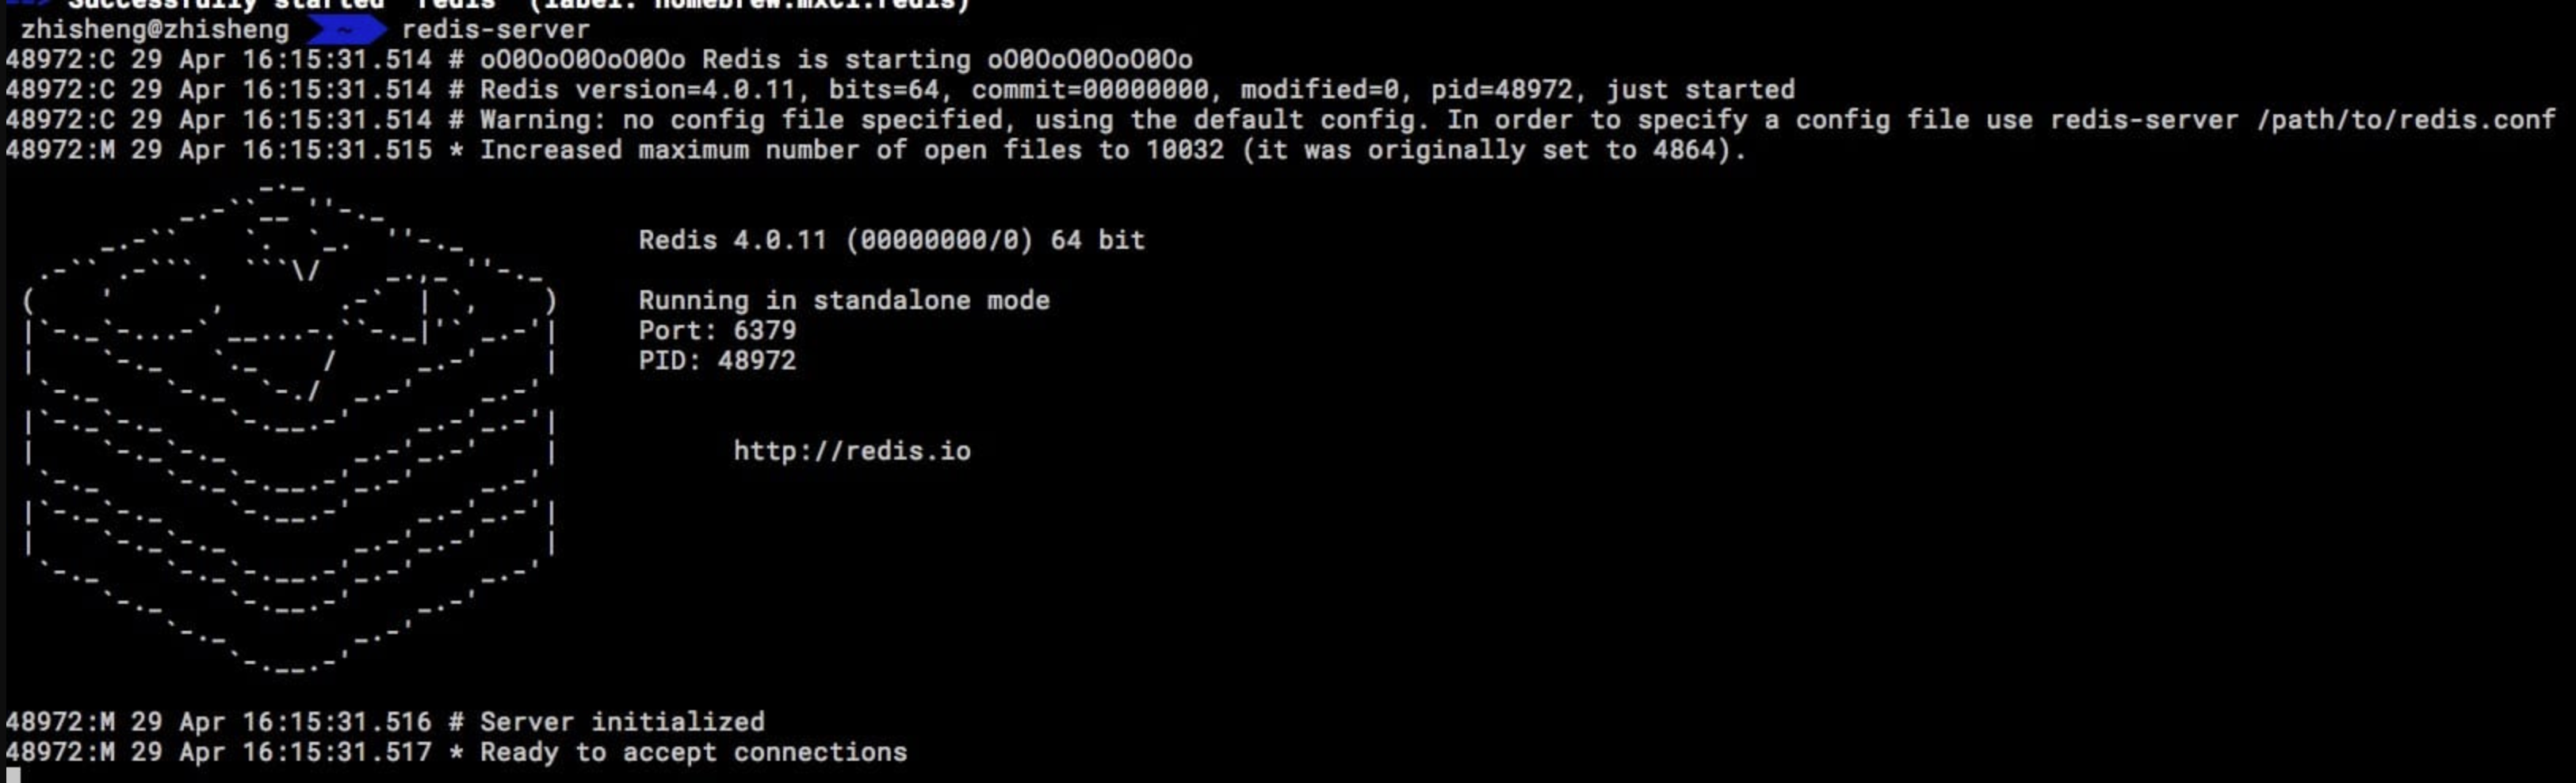
要运行命令,可以直接到 /usr/local/bin 目录下,有:
两个命令,执行 redis-server 可以打开服务端,启动后结果如下图所示:
然后另外开一个终端,运行 redis-cli 命令可以运行客户端,执行后效果如下图所示:

3.11.2 将商品数据发送到 Kafka
这里我打算将从 Kafka 读取到所有到商品的信息,然后将商品信息中的 商品ID 和 商品价格 提取出来,然后写入到 Redis 中,供第三方服务根据商品 ID 查询到其对应的商品价格。
首先定义我们的商品类 (其中 id 和 price 字段是我们最后要提取的)为:
ProductEvent.java
1
2
3
4
5
6
7
8
9
10
11
12
13
14
15
16
17
18
19
20
21
22
23
24
25
26
27
28
29
30
31
32
33
34
35
36
37
38
39
40
41
42
43
44
45
46
47
48
49
50
51
52
53
54
55
56
57
58
59
60
61
62
63
64
65
66
67
68
69
70
71
72
73
74
75
76
|
@Data
@Builder
@AllArgsConstructor
@NoArgsConstructor
public class ProductEvent {
private Long id;
private Long categoryId;
private String code;
private Long shopId;
private String shopName;
private Long brandId;
private String brandName;
private String name;
private String imageUrl;
private int status;
private int type;
private List<String> tags;
private Long price;
}
|
然后写个工具类不断的模拟商品数据发往 Kafka,工具类 ProductUtil.java 的代码如下:
1
2
3
4
5
6
7
8
9
10
11
12
13
14
15
16
17
18
19
20
21
22
23
24
25
26
| public class ProductUtil {
public static final String broker_list = "localhost:9092";
public static final String topic = "zhisheng";
public static final Random random = new Random();
public static void main(String[] args) {
Properties props = new Properties();
props.put("bootstrap.servers", broker_list);
props.put("key.serializer", "org.apache.kafka.common.serialization.StringSerializer");
props.put("value.serializer", "org.apache.kafka.common.serialization.StringSerializer");
KafkaProducer producer = new KafkaProducer<String, String>(props);
for (int i = 1; i <= 10000; i++) {
ProductEvent product = ProductEvent.builder().id((long) i)
.name("product" + i)
.price(random.nextLong() / 10000000000000L)
.code("code" + i).build();
ProducerRecord record = new ProducerRecord<String, String>(topic, null, null, GsonUtil.toJson(product));
producer.send(record);
System.out.println("发送数据: " + GsonUtil.toJson(product));
}
producer.flush();
}
}
|
3.11.3 Flink 消费 Kafka 中的商品数据
我们需要在 Flink 中消费 Kafka 数据,然后将商品中的两个数据(商品 id 和 price)取出来。先来看下这段 Flink Job 代码:
1
2
3
4
5
6
7
8
9
10
11
12
13
14
15
16
17
18
19
20
21
22
23
| public class Main {
public static void main(String[] args) throws Exception {
final StreamExecutionEnvironment env = StreamExecutionEnvironment.getExecutionEnvironment();
ParameterTool parameterTool = ExecutionEnvUtil.PARAMETER_TOOL;
Properties props = KafkaConfigUtil.buildKafkaProps(parameterTool);
SingleOutputStreamOperator<Tuple2<String, String>> product = env.addSource(new FlinkKafkaConsumer011<>(
parameterTool.get(METRICS_TOPIC),
new SimpleStringSchema(),
props))
.map(string -> GsonUtil.fromJson(string, ProductEvent.class))
.flatMap(new FlatMapFunction<ProductEvent, Tuple2<String, String>>() {
@Override
public void flatMap(ProductEvent value, Collector<Tuple2<String, String>> out) throws Exception {
out.collect(new Tuple2<>(value.getId().toString(), value.getPrice().toString()));
}
});
product.print();
env.execute("flink redis connector");
}
}
|
然后 IDEA 中启动运行 Job,再运行上面的 ProductUtil 发送 Kafka 数据的工具类(注意:也得提前启动 Kafka),运行结果如下图所示。
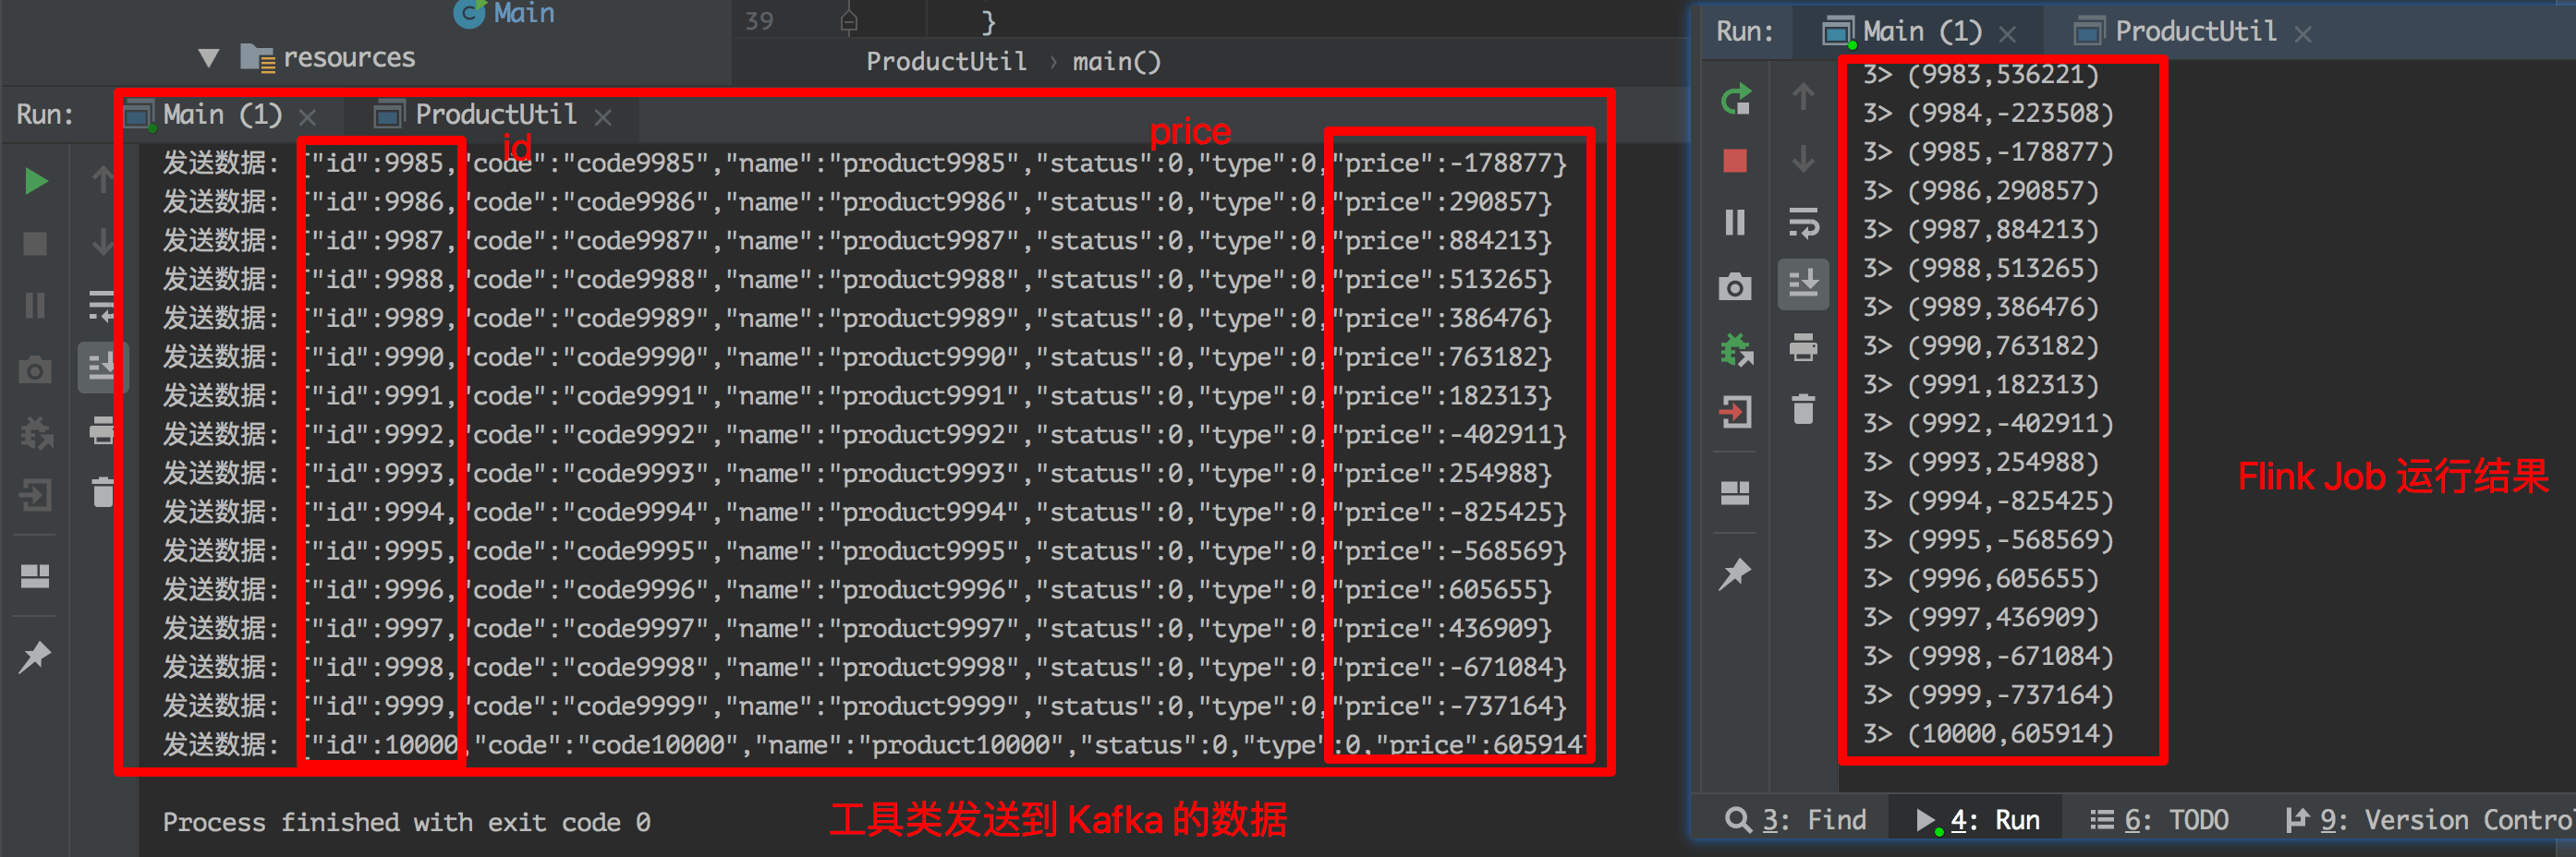
上图左半部分是工具类发送数据到 Kafka 打印的日志,右半部分是 Job 执行的结果,可以看到它已经将商品的 id 和 price 数据获取到了。
那么接下来我们需要的就是将这种 Tuple2<Long, Long> 格式的 KV 数据写入到 Redis 中去。要将数据写入到 Redis 的话是需要先添加依赖的。
3.11.4 Redis Connector 简介
Redis Connector 提供用于向 Redis 发送数据的接口的类。接收器可以使用三种不同的方法与不同类型的 Redis 环境进行通信:
- 单 Redis 服务器
- Redis 集群
- Redis Sentinel
添加依赖
需要添加 Flink Redis Sink 的 Connector,这个 Redis Connector 官方只有老的版本,后面也一直没有更新,所以可以看到网上有些文章都是添加老的版本的依赖。
1
2
3
4
5
| <dependency>
<groupId>org.apache.flink</groupId>
<artifactId>flink-connector-redis_2.10</artifactId>
<version>1.1.5</version>
</dependency>
|
包括该部分的文档都是很早之前的啦,可以查看 flink-docs-release-1.1 redis。
另外在 flink-streaming-redis 也看到一个 Flink Redis Connector 的依赖。
1
2
3
4
5
| <dependency>
<groupId>org.apache.bahir</groupId>
<artifactId>flink-connector-redis_2.11</artifactId>
<version>1.0</version>
</dependency>
|
两个依赖功能都是一样的,我们还是就用官方的那个 Maven 依赖来进行演示。
3.11.5 Flink 写入数据到 Redis
3.11.6 项目运行及验证
3.11.7 小结与反思
加入知识星球可以看到上面文章:https://t.zsxq.com/zr76I66